Building & scheduling a campaign
Walk the 6-step campaign wizard from audience to send.
The campaign builder is a 6-step wizard: Type → Recipients → Set Up → Template → Schedule → Confirm.
- Open Marketing Suite → Marketing Campaigns and click Create. Choose Regular (HTML) or Plain text.
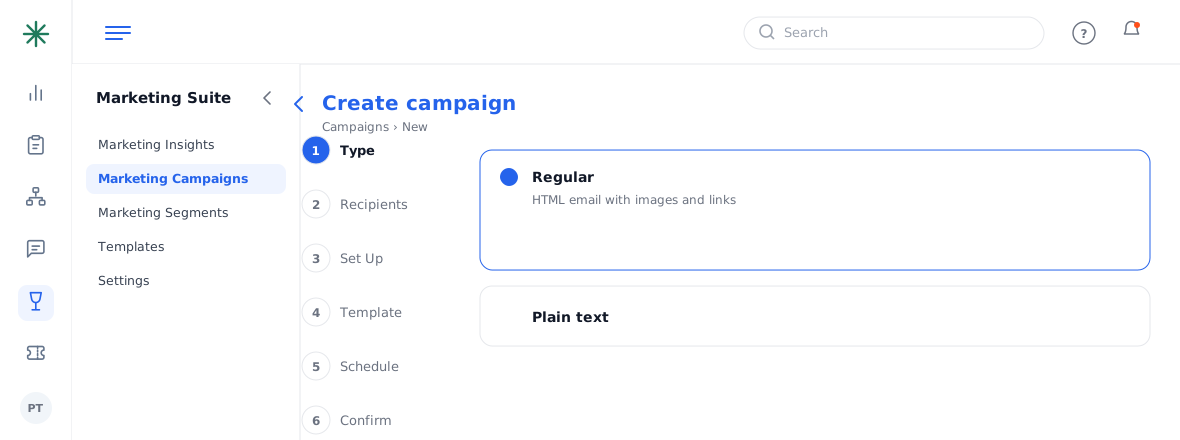
Step 1: campaign type - Recipients: target by list, tags and segment (combined with AND).
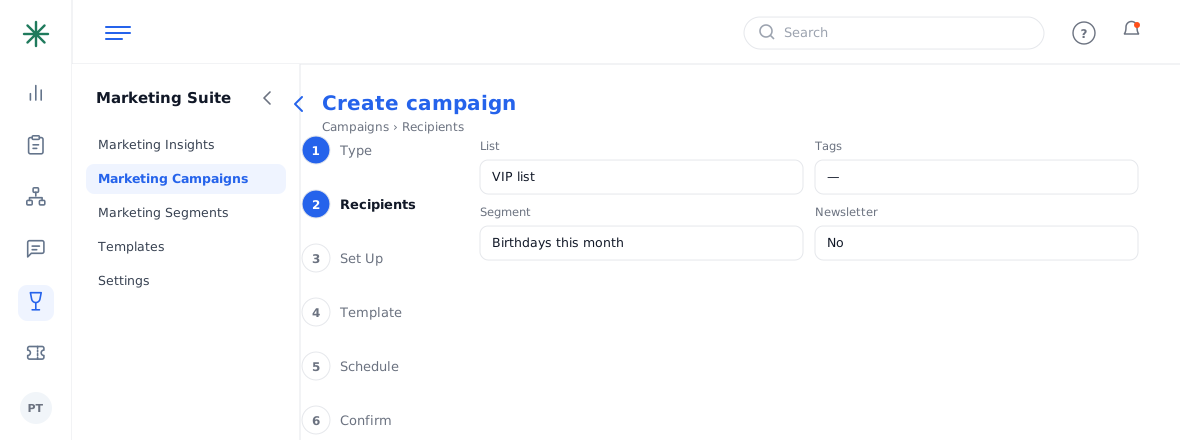
Step 2: recipients - Set Up: name it and set the From sender, subject, preview text and optional UTM tracking.
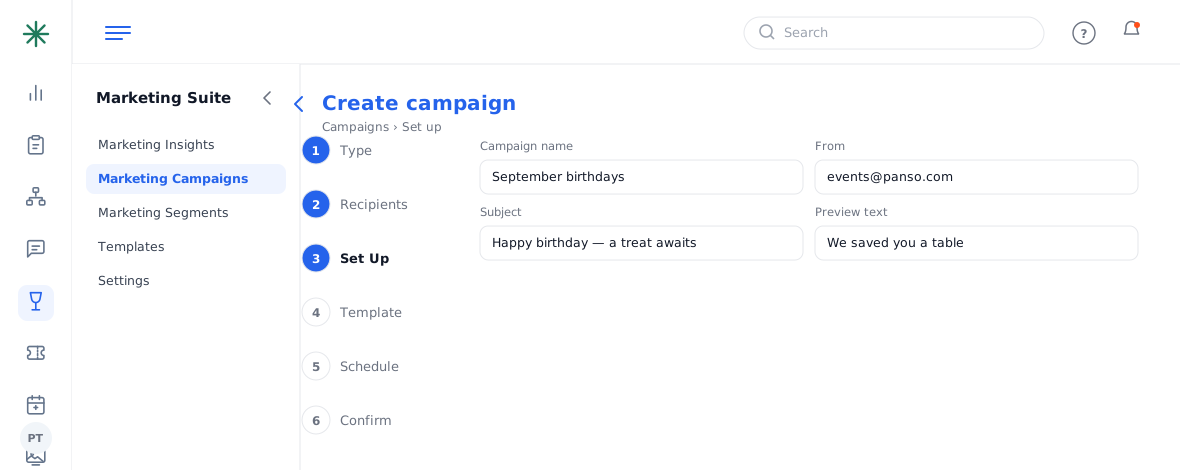
Step 3: set up - Template: pick a saved template (or edit one in place).
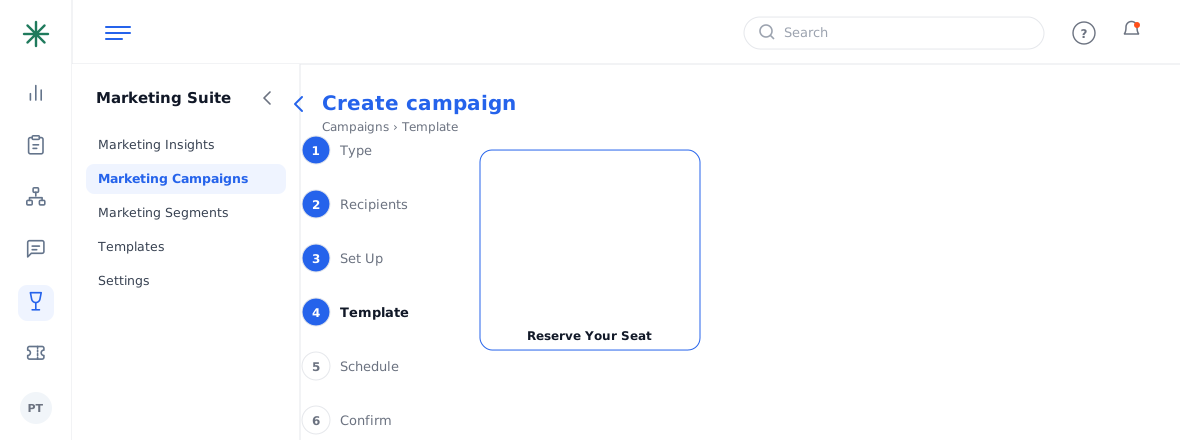
Step 4: template - Schedule: choose a timezone, then Send immediately or Send at a specified date and time. Finish at Confirm to send.
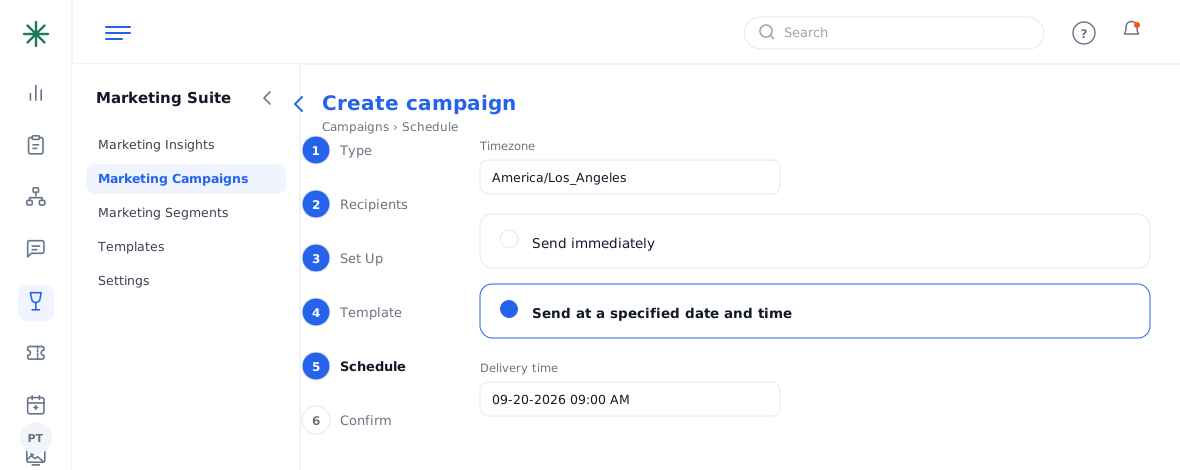
Step 5: schedule
The final Confirm step actually sends the campaign to real recipients — double-check the audience and use Send a test email first.
Before you hit send
- Confirm the recipient list/segment and its size.
- Send a test email to yourself and check the subject, preview text, personalization and links.
- Set the timezone and choose send now or a scheduled date/time.
- Only then complete Confirm.
Frequently asked questions
Can I schedule for later?
Yes — at the Schedule step choose Send at a specified date and time and pick a timezone and delivery time.
How do I test it first?
Use Send a test email on the Schedule step to preview the real email in your own inbox.
Can I edit a campaign after it’s sent?
No — a sent campaign is locked. Duplicate it to reuse the setup for a new send.
Where do I see results?
In Marketing Insights and on each campaign card (opens, clicks, unsubscribes).